Why Floor Prep Before Installing New Floors is Important!
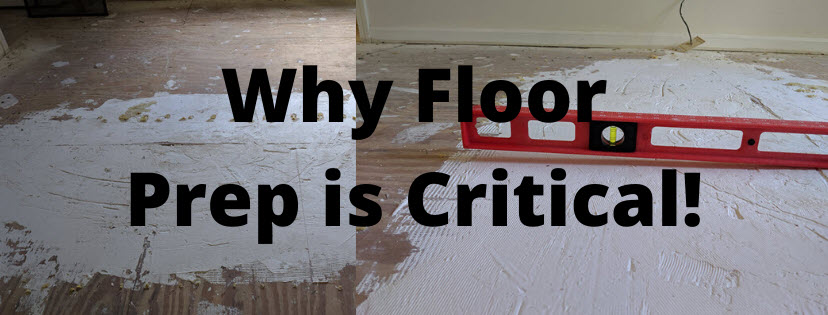
Did you know that floor prep is critical? In fact, preparing your existing floor surface is the first and most important step for the installation of any flooring.
Without proper floor surface preparation, many problems can arise once you've installed your new flooring. If you have ever seen uneven floors, peeling floors, or bubbling floors, it could be because the floor wasn't properly prepped.
What is Floor Prep?
Floor prep is the process of preparing the existing flooring to receive new flooring and ensure that your new flooring will look great, lay flat, stay bonded, and not fail.
In many cases, the existing flooring needs to be removed which can lead to a multitude of issues. Although there are some flooring products that can be installed over your existing floor to address issues, you'll want to check with the flooring manufacturer and follow their guidelines.
You can't skip proper floor surface preparation. Every surface needs to be clean, level, free of existing adhesives and within moisture tolerances, for the type of flooring you will be installing.
Let's review the steps involved.
Step 1: Job Site Assessment
You've selected your new floor and you're excited to have it installed. Not so fast. The first step after you have selected your dream floor is to have a qualified installer or estimator take a look at the job site conditions to be sure your selection will be a good choice for your particular space.
Step 2: Removing the Existing Flooring
Often times when we do a job site assessment, we'll find that there's existing carpet or flooring already installed.
Without removing the existing carpet or flooring it is usually impossible to know what lies beneath them that can cause issues after the installation or somewhere down the road.
For that reason, you may not get full details on how to prepare your subfloors until the project is fully underway.
You can confirm the floor prep and installation expertise of your flooring retail specialist by checking reviews. Improperly prepared subfloors rarely generate rave reviews and repeat business.
>> Check Floor Decor Design Center's Reviews
Carpet Example
Let's review this using carpet as an example.
Existing carpet because of its plushness (it's also often installed over 1/2" padding) can hide a myriad of issues.
Issues such as squeaks can be determined just with a walk-through.
But other problems hiding under that carpet can range from a non-suitable subfloor such as particleboard, damaged plywood from moisture-related issues, crowns or dips in the flooring, and pet stains that penetrated into the subfloor or even mold.
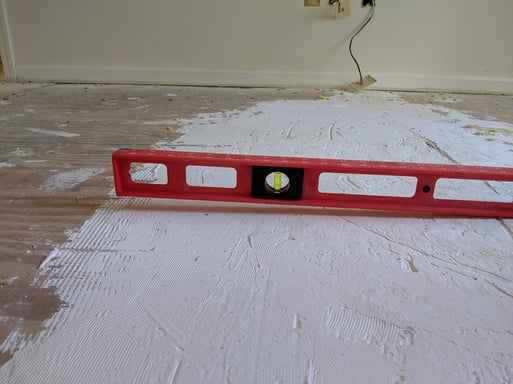
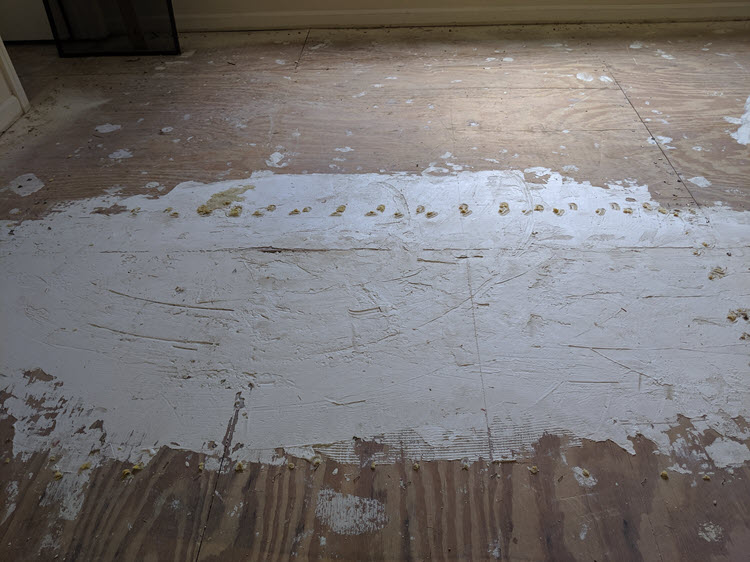
In the photo above after the carpet was removed, we discovered that there was a high spot in the middle of the bedroom that had to be addressed before the customer's vinyl plank flooring selection could be installed. Unfortunately, this was an area not only hidden under the carpet during the original job site assessment but it was under the king-size bed.
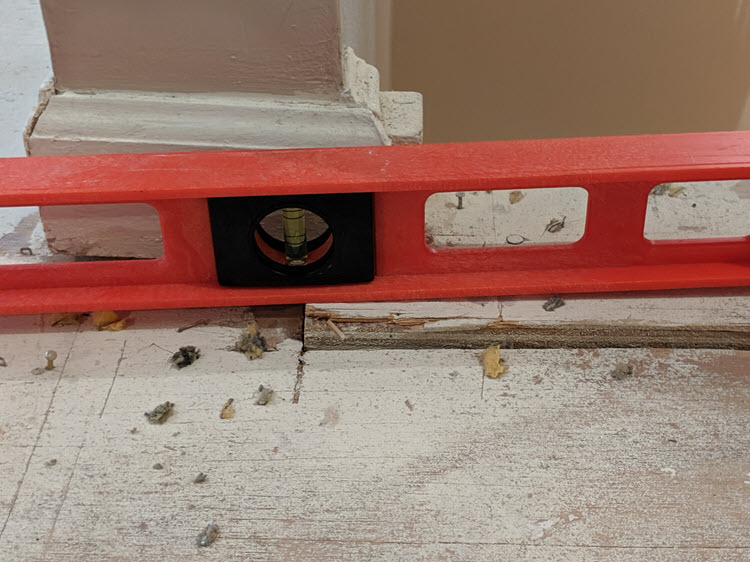
In this case, we needed to remove the existing patch and sand down the plywood to meet the manufacturer's requirements for installing over a flat surface with no dips or high spots greater than 3/16" in a 10' radius.
This additional work wound up adding another day to the installation and an additional cost to the homeowner of $700.
Different Types of Surface Floor Prep Solutions
Depending on the type of flooring materials you've chosen, you may encounter different sub-floor prep requirements.
For example, wood flooring doesn't tolerate moisture, so you'll need to ensure that everything is dry otherwise you may experience warped boards.
>> See All About Installing Hardwood Floors Over Different Subfloors
In new construction, air or heat need to be on — usually for a few days before installation.
For tile installations, level floors are critical for avoiding cracks.
Floor Prep and Installation Tips
Here are tips to make the new floor installation process easier on you:
- Remove furniture from the room before work starts.
- If your installers will be removing your furniture, be kind and empty/clear off the furniture.
- Remove any items on the walls. Otherwise, those precious items could fall as a result of vibrations from the work taking place. Plus, they're likely to get very dusty.
- Empty closets.
- Every project is unique. Anticipate additional floor prep once the existing flooring has been removed and understand what's involved.
Once your floors are done, confirm with your flooring specialist what kind of cleaning you'll need to plan for.
DO YOU HAVE ADDITIONAL QUESTIONS ABOUT Floor Prep?
Have we addressed all of your questions relating to proper surface prep before installing flooring? Let us know in the comments or contact us.
When you're ready to select your dream flooring, we invite you to visit our showroom locations in Orange and Middletown, Connecticut. You'll find a vast assortment of products to experience for yourself.
We look forward to helping you.
Thanks for reading,
Janine & Michael
Note: We originally published this article on 11/06/2019, and have updated it.


